Unit/Resident Selection Feature
Selection of a Unit and/or Resident is an important step in the creation of a new Service Request. Follow these easy steps to lock in your selection:
Unit Selection (without Resident association)
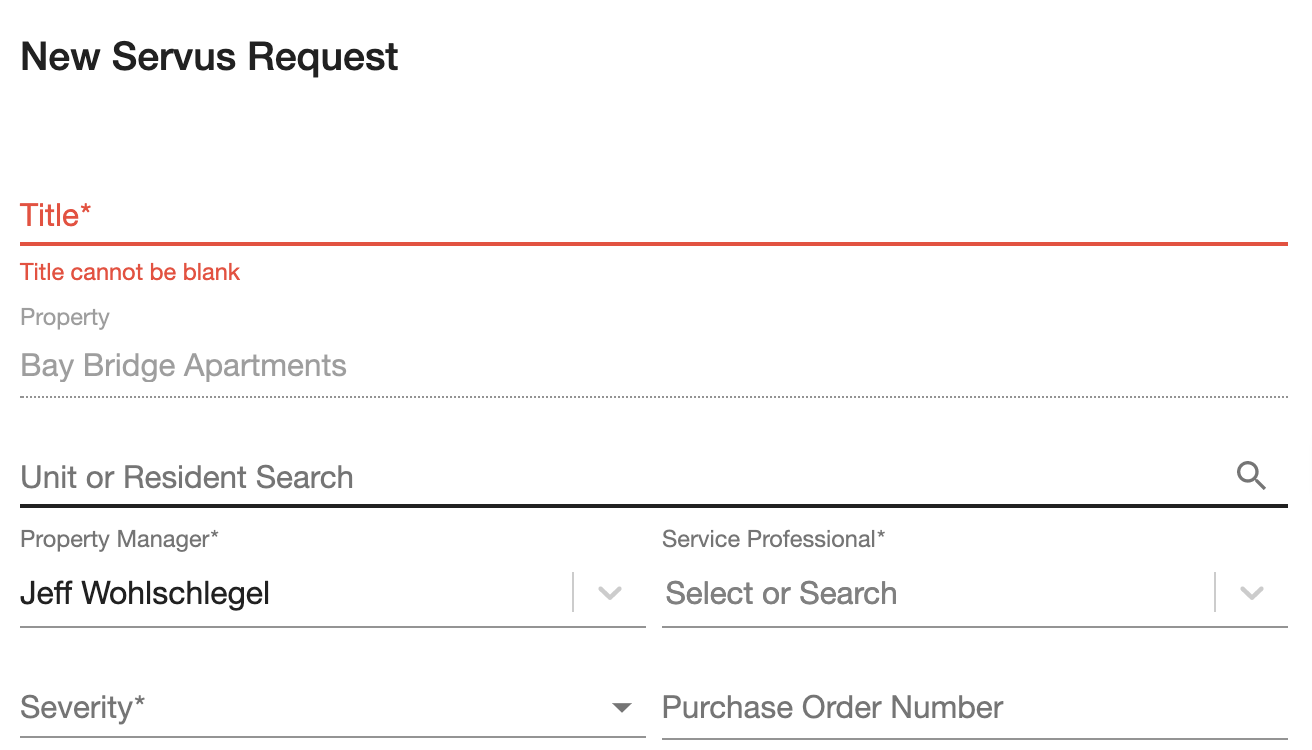
Step 1: Select the open field where “Unit or Resident Search” appears. This dialog box displays when creating a new service request.
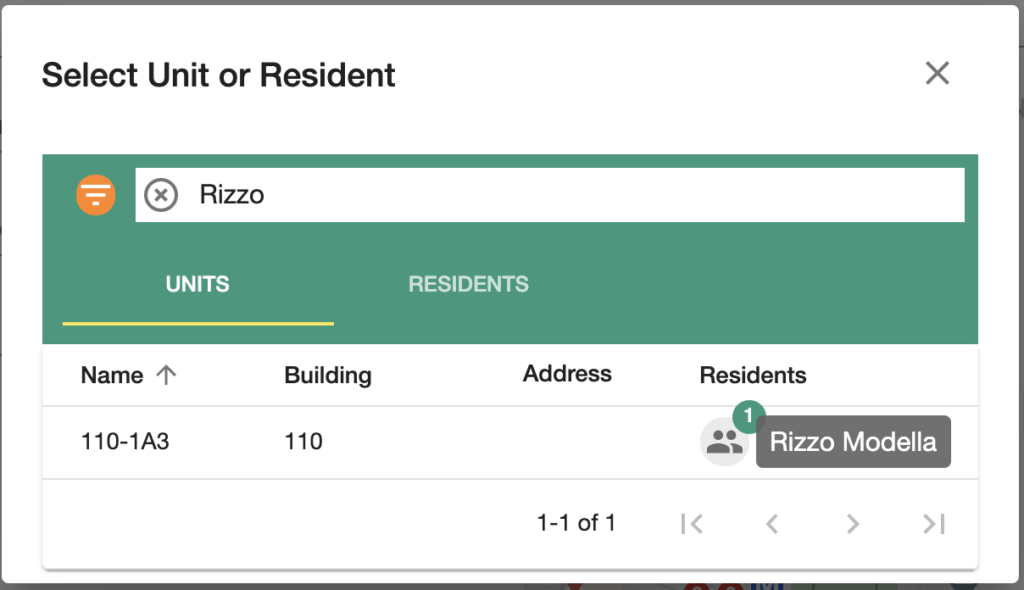
Step 2: Tap on unit or resident search. View the new dialog which will show 10 Units per page.
Note: As shown above, you can hover over the icon to show the Residents listed in the unit.
Step 3: Search/Filter the list of Units using the Name, Building, Address, or the name of the Resident that resides in the Unit.
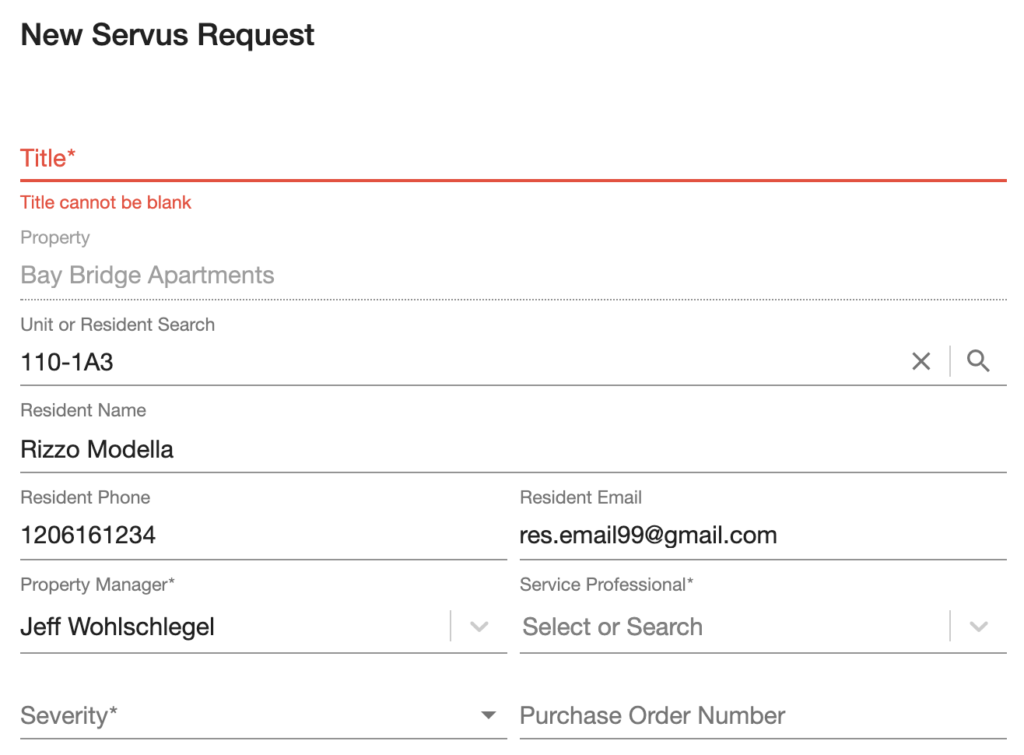
Step 4: Select the line item from the list, which will enter the selection into the Service Request creation form.
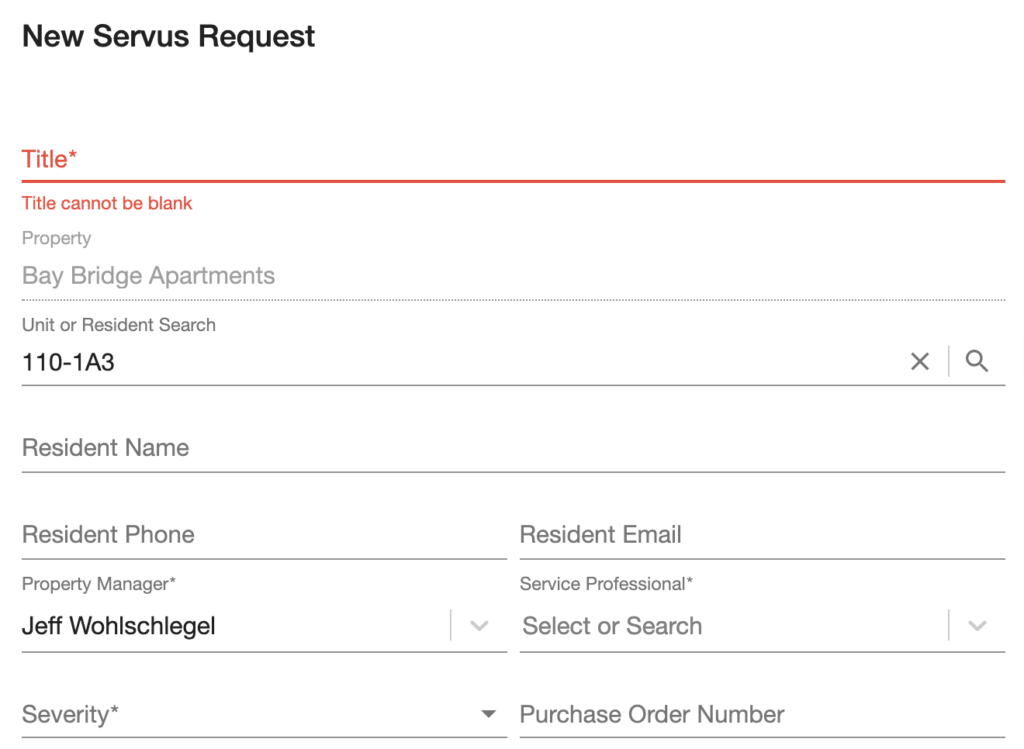
Important Note: Notice that the Resident’s Name, Phone, and Email are not filled in. Follow the instructions in the next section if you need to associate a Resident as well.
Unit Selection (with Resident association)
This is possible for Accounts where Resident data has been automatically loaded from Property Management Software.
Step 1: Select the open field where “Unit or Resident Search” appears
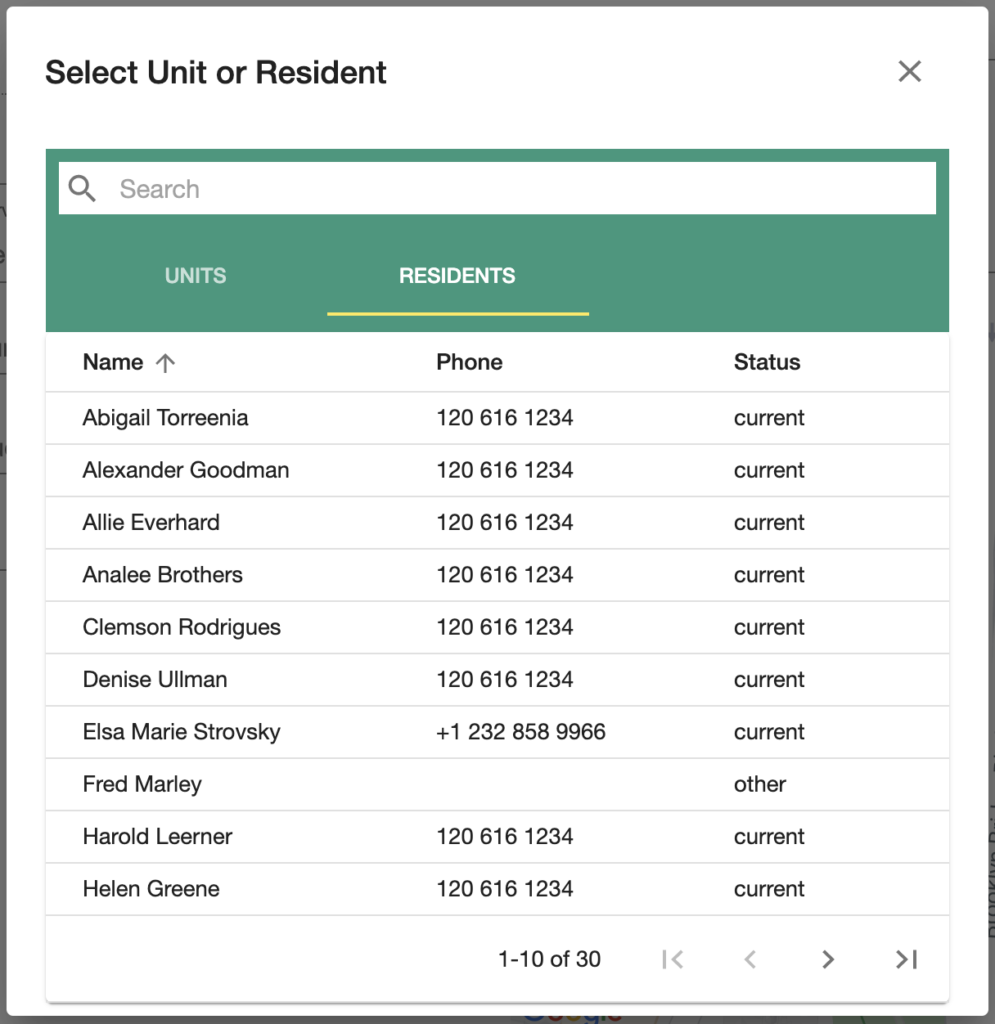
Step 2: View the new selection dialog which will show 10 Residents per page.
Hint: Click on “RESIDENTS” to view the list.
Step 3: Search/Filter the list of Residents using the Name or Phone Number.
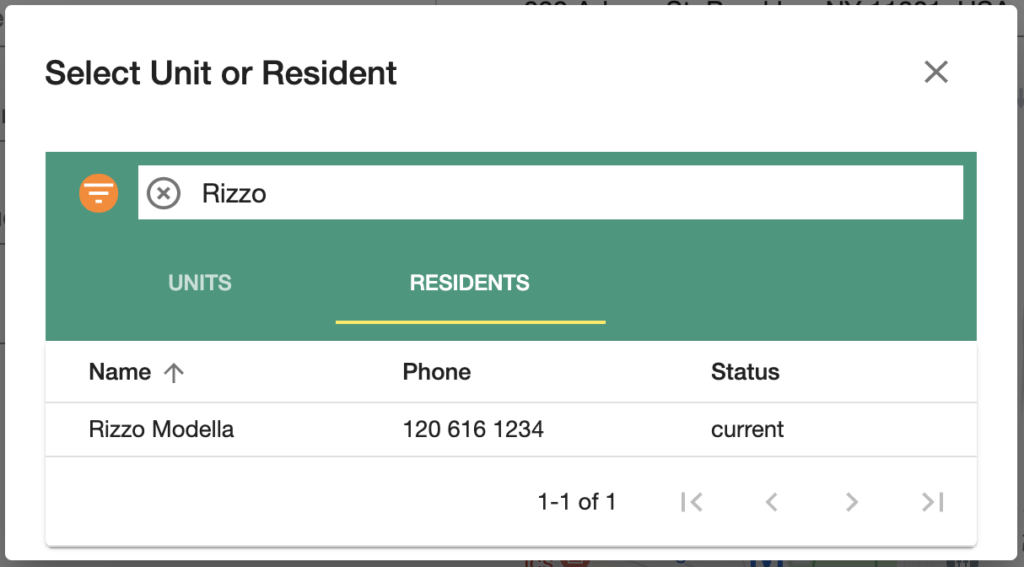
Step 4: Select the line item from the list, which will enter the Unit selection (with associated Resident info) into the Service Request creation form.